Whether you’re trying to update your home, enhance its curb appeal, or simply change its outward appearance, painting your home’s exterior is a major project, often best left to the professionals. Why? For one thing, exterior painting takes time, patience, and experience. But before painting even begins, a lot of work must go into preparing your home for the optimal results. Let’s discuss how to prepare your home exterior for painting, and why each step matters so much.
1. Assessing the Outside
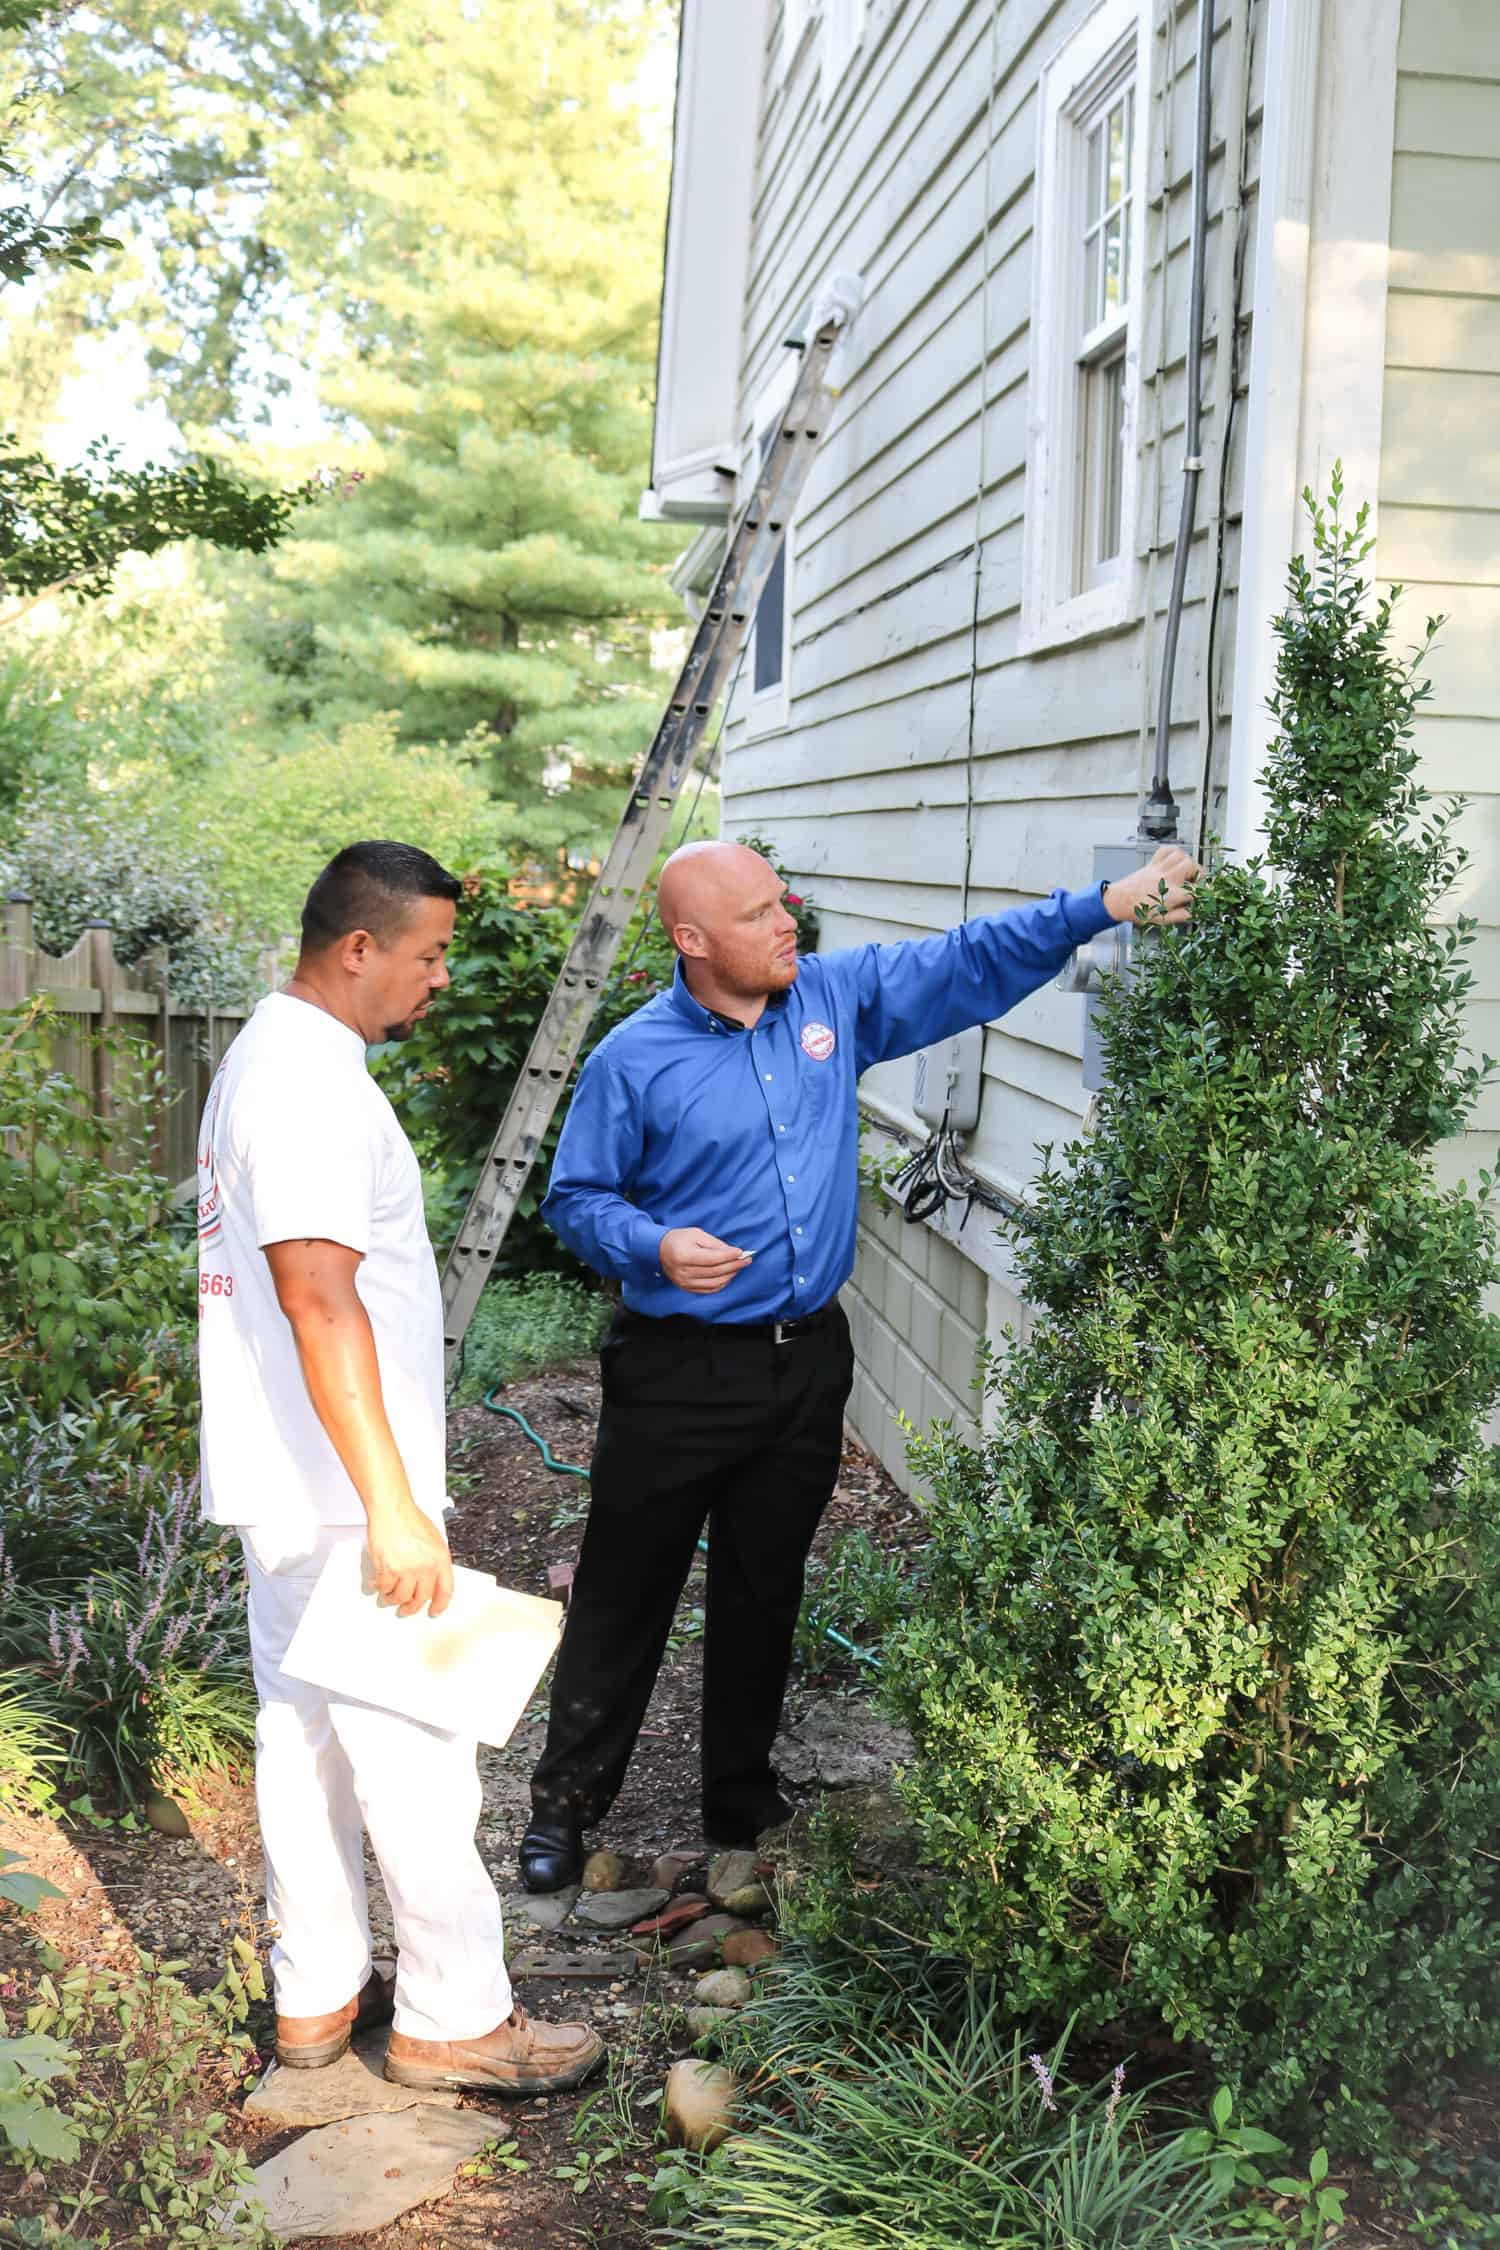
Part of preparation is examination. It’s important to take a detailed look at every part of your home’s exterior. This will cue you into any minor and major issues you’ll want to address before home painting begins. Rotted wood, for instance, is a common culprit. You’re also bound to find some cracks, dings, and holes here or there. Are they surface level problems or deeper issues? The more you know, the better you can prepare for what’s next.
2. Pressure/Power Washing All Surfaces
After assessing for damage, if your home is in pretty good shape, you’ll then want to give it a good cleaning. The fastest and most effective way to do so is by pressure or power washing your home’s exterior. Doing so will remove dirt, dust, mold, and mildew, and make the rest of the prep work a bit easier. Plus, your new paint job will stick better. But remember: power washing includes added heat, so be careful on certain surfaces.
3. Remove Old Paint
If the previous paint job is really old and flaky, your power washer might have blasted much of it away. However, some parts might hold on. You can get rid of these areas with a scraper.
4. Making Repairs
Now is the time to fix up those spots you noticed earlier when assessing your exterior for damage. Some kind of spackle and a putty knife usually does the trick for small repairs.
5. Sanding Surfaces
You’ll notice that most professional painters like to sand down the surfaces they’ll be painting after they remove the old paint job and repair surfaces. Of course, no one can be expected to sand the entire exterior of a home. However, it’s a good idea to sand down particularly rough spots and recent repairs so the new paint will have an easier time adhering to the surface.
6. Sealing the Gaps
As you’re preparing your home’s exterior for residential painting, you should also take some time to re-caulk your window trim, and other areas with revealing gaps. This usually involves removing old caulk and using your caulking gun to apply new material.
7. Covering Surfaces, Shrubbery, Lawn, etc.
At this point, once your home’s exterior is clean, fixed up, sanded down, and sealed, it’s almost time for exterior painters to get to work. But before this happens, you want to protect your lawn, plants, walkways, windows, and anything else you don’t want painted from getting splattered! Use plastic or canvas drop cloths to cover all of these surfaces, and use a hand masker loaded with masking tape to cover windows. Make sure these coverings are secure so they don’t blow away or get knocked off.
8. Time to Prime and Paint
Finally, it’s time to start applying primer and a new coat of paint to your home’s exterior. Of course, all of that prep work typically takes a bit of time, meaning painting services might not begin actually painting until a day or two after all of these preparations have been made.
Fortunately, All American Painting Plus handles the prep work, the painting, and everything in between. Our team has the tools and expertise to work efficiently and provide your home with the best looking paint job possible. To learn more about all that we do, give us a call at (703)-620-5563!


