Are you struggling with how to fix paint streaks on walls in your home? This common issue in both exterior and interior painting can disrupt the smooth look of your painted walls, but don’t worry! With the right techniques, it’s an easy fix. This guide will walk you through the process step-by-step, ensuring your walls look flawless and streak-free.
How to Fix Paint Streaks on Walls
Identifying the Cause of Paint Streaks
Before diving into solutions, it’s crucial to understand why paint streaks happen. Several factors can contribute to this issue:
- Quality of Paint: Low-quality paint often leads to poor coverage and streaks, primarily due to its thin consistency and lack of pigment.
- Wrong Tools: Using inappropriate rollers or brushes can leave uneven marks, contributing to an unprofessional finish. Cheap brushes may shed bristles, while low-quality rollers can create uneven texture.
- Technique: Incorrect application methods can result in streaks, especially when the paint is applied unevenly or with inconsistent pressure.
Understanding the root cause helps in choosing the right approach to fix the streaks.
Preparing the Wall for Repainting
Proper preparation is key to a streak-free finish. Below are some steps you can take to ensure that the new paint adheres properly and looks even:
1. Clean the Wall
It’s crucial to start with a clean surface. Dust, grime, or oily residues on the walls can hinder paint adhesion, leading to an uneven finish. Use a mild detergent and a soft cloth or sponge to gently clean the walls. Rinse with water and allow the wall to dry completely before proceeding. This step ensures the paint adheres properly and results in a smoother finish.
2. Sand the Area
Sanding the streaked area is key to achieving a smooth base for repainting. Use a fine-grit sandpaper to lightly sand the surface. This process helps to even out any rough spots and remove the glossy sheen, providing a better grip for the new paint. It’s important to sand gently to avoid damaging the wall surface. Wipe away the sanding dust with a clean cloth before moving on to the next step.
3. Apply Primer
Applying a primer is essential in ensuring an even base for your topcoat. Primer seals any previous streaks and imperfections, creating a uniform surface for the paint to adhere to. It also helps in achieving true color and maximum coverage with fewer coats of paint. Make sure the primer is fully dry before applying the topcoat. This step is particularly important when covering dark or bright colors.
Choosing the Right Tools and Paint
Using the right equipment helps in achieving a professional-looking finish. Selecting quality tools and paint makes a big difference.
High-Quality Paint
Investing in high-quality paint is crucial for better coverage and a lasting finish. Premium paints contain higher levels of pigments and binders, which translate to richer color and more uniform coverage. They also tend to be more durable and washable, maintaining their appearance over time. While they may cost more upfront, high-quality paints can save you time and money in the long run by reducing the need for multiple coats and frequent touch-ups.
Right Brushes and Rollers
Choosing the right brushes and rollers is vital for a professional-looking paint job. Brushes come in various shapes and sizes; for instance, angled brushes are ideal for cutting in corners and edges, while flat brushes are suitable for larger, flat surfaces. Similarly, rollers also vary in nap length. Short-nap rollers are great for smooth surfaces, and long-nap rollers are better for textured surfaces. Selecting tools that are compatible with the type of paint and wall surface ensures a smoother application and a more even finish.
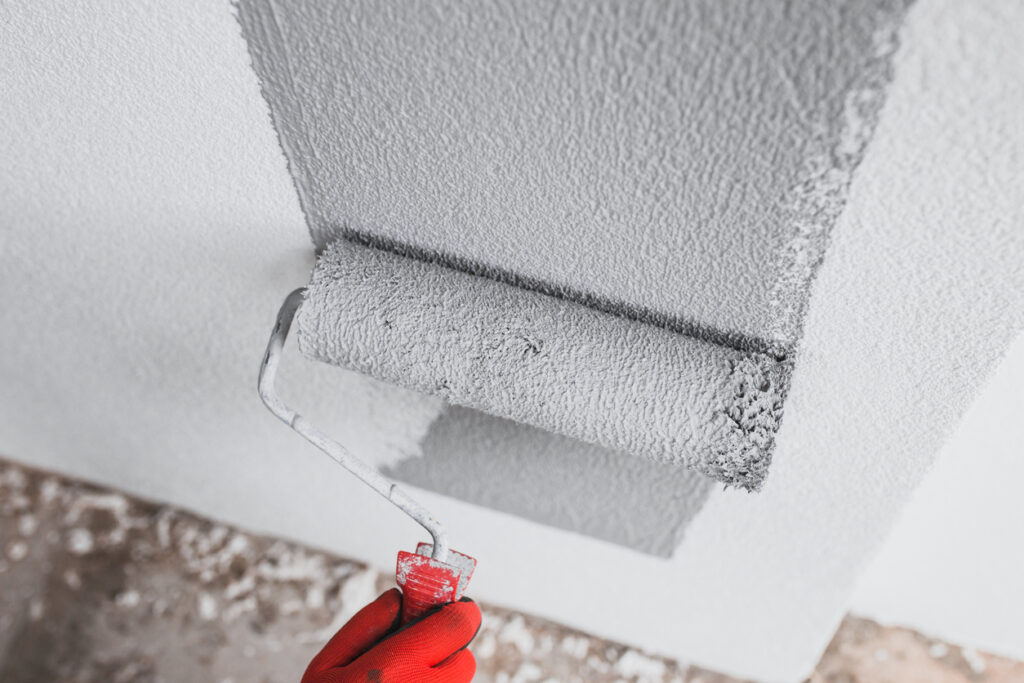
Applying Paint the Right Way
Proper technique is essential to avoid streaks. The techniques below will help you get a smooth, streak-free finish.
Even Strokes
Applying paint in even, uniform strokes is essential for a streak-free finish. Start from the top and work your way down, maintaining a ‘wet edge’—this means each stroke slightly overlaps the previous one before the paint dries. This technique helps to avoid marks and ensures a seamless blend between strokes. Be consistent in the direction of your strokes, whether it’s up and down or side to side, to achieve a smooth, professional appearance.
Avoid Overloading the Brush
Care is needed to avoid overloading the brush with paint. Too much paint not only leads to drips and streaks but also makes it harder to achieve an even coat. Dip the brush only about a third of the way into the paint, and tap off the excess against the side of the can. This helps control the amount of paint on the brush, allowing for a smoother application and reducing the chances of drips and uneven texture.
Second Coat
Applying a second coat is often necessary for complete coverage and to achieve the desired depth of color. Wait for the first coat to dry completely before applying the second. This usually takes a few hours but can vary depending on the paint and environmental conditions. A second coat not only enhances the color but also ensures uniformity and a more durable finish. Remember to apply it using the same techniques as the first for consistency.
Additional Tips for Perfect Results
Here are some extra tips to ensure the best outcome. Following these tips ensures that your walls look professionally painted:
Room Temperature
Painting in a well-ventilated room at a moderate temperature is crucial for optimal drying and finish quality. Ideal painting conditions are typically around 50-70°F with low humidity. Extreme temperatures can affect paint consistency, drying time, and finish. In too-cold conditions, paint may not adhere well and can take longer to dry, while in too-warm conditions, it may dry too quickly, leading to uneven coverage. Ensure good airflow to avoid dust settling on the wet paint and to aid in even drying.
Dry Thoroughly
Allowing each coat of paint to dry thoroughly before applying the next is essential for a smooth, durable finish. Rushing this process can lead to tackiness, streaks, or peeling over time. Drying times can vary based on paint type, humidity, and temperature. Check the manufacturer’s recommendations for drying times to ensure the best results. Touch the paint lightly; it should feel dry to the touch and not leave any residue on your fingers.
Quality Check
After painting, conduct a thorough quality check of the wall from different angles and in various lighting conditions. This helps in identifying any missed spots, drips, or inconsistencies in the paint application. Look for areas that might need a touch-up or an additional coat for even coverage. Use a small brush for any corrections to maintain the integrity of the finish. This final step ensures that your painting project results in a flawless and professionally finished look.
Conclusion
Fixing paint streaks on walls is all about the right preparation, tools, and technique. By following these steps, you can achieve a smooth and even finish that transforms the look of your space. Remember, patience and attention to detail are your best tools in tackling this project. With this guide, you’re well on your way to flawless walls!
If you’re looking for professional assistance to achieve that perfect, streak-free finish on your walls, All American Painting Plus is here to help. With years of expertise in delivering top-quality painting services, our team ensures a seamless and hassle-free experience. Whether it’s choosing the right color, the perfect finish, or expertly handling the entire painting process, we’ve got you covered.
Contact us today at (703) 686-8988 for a free consultation.