How to Prep Your Rooms for Painting
Painting a room is a lot of work. And painting multiple rooms requires that much more effort. On top of the paint job itself, you also have to make proper preparations for each room. Interior painting contractors are accustomed to all of this work, at least, and they have the tools and experience to work quickly. But if you’re going it alone, you might feel overwhelmed. Still, prepping your rooms for painting is a crucial step to ensuring a durable, beautiful interior paint job. Let’s go over how to prep your rooms for painting, step by step.
1. Gather the Right Tools
Unless you do residential painting for a living, you might lack some of the supplies necessary for paint preparation, but you might have others. The main things you’ll need include:
- Sandpaper and/or sanding tool
- Masking tape and/or hand masker
- Spackle and putty knife
- Caulking gun
- Drop cloths (canvas or plastic) and covers
- Ladder(s) for high ceilings
- Rags (as many as you need)
- Handy tools or multi-tool (screwdriver, pliers, etc.)
- Safety equipment (face mask, gloves, goggles)
2. Move and Remove Objects
The term “painting a room” does not include painting every object or piece of furniture inside it, of course. You’ll want to remove as many items as you can from the room, or at least move larger objects to the center where they can be easily covered and kept away from paint and other debris.
3. Lay Down Drop Cloths and Covers
Once you’ve cleared out the room and centralized your furniture, etc., thoroughly cover these remaining items with a plastic or canvas sheet. Your floors will need protection, too, so lay down enough drop cloths to cover your floors. You’ll thank yourself later when clean up only involves removing the cloths and not scrubbing dried paint from your carpets, tile, or hardwood.
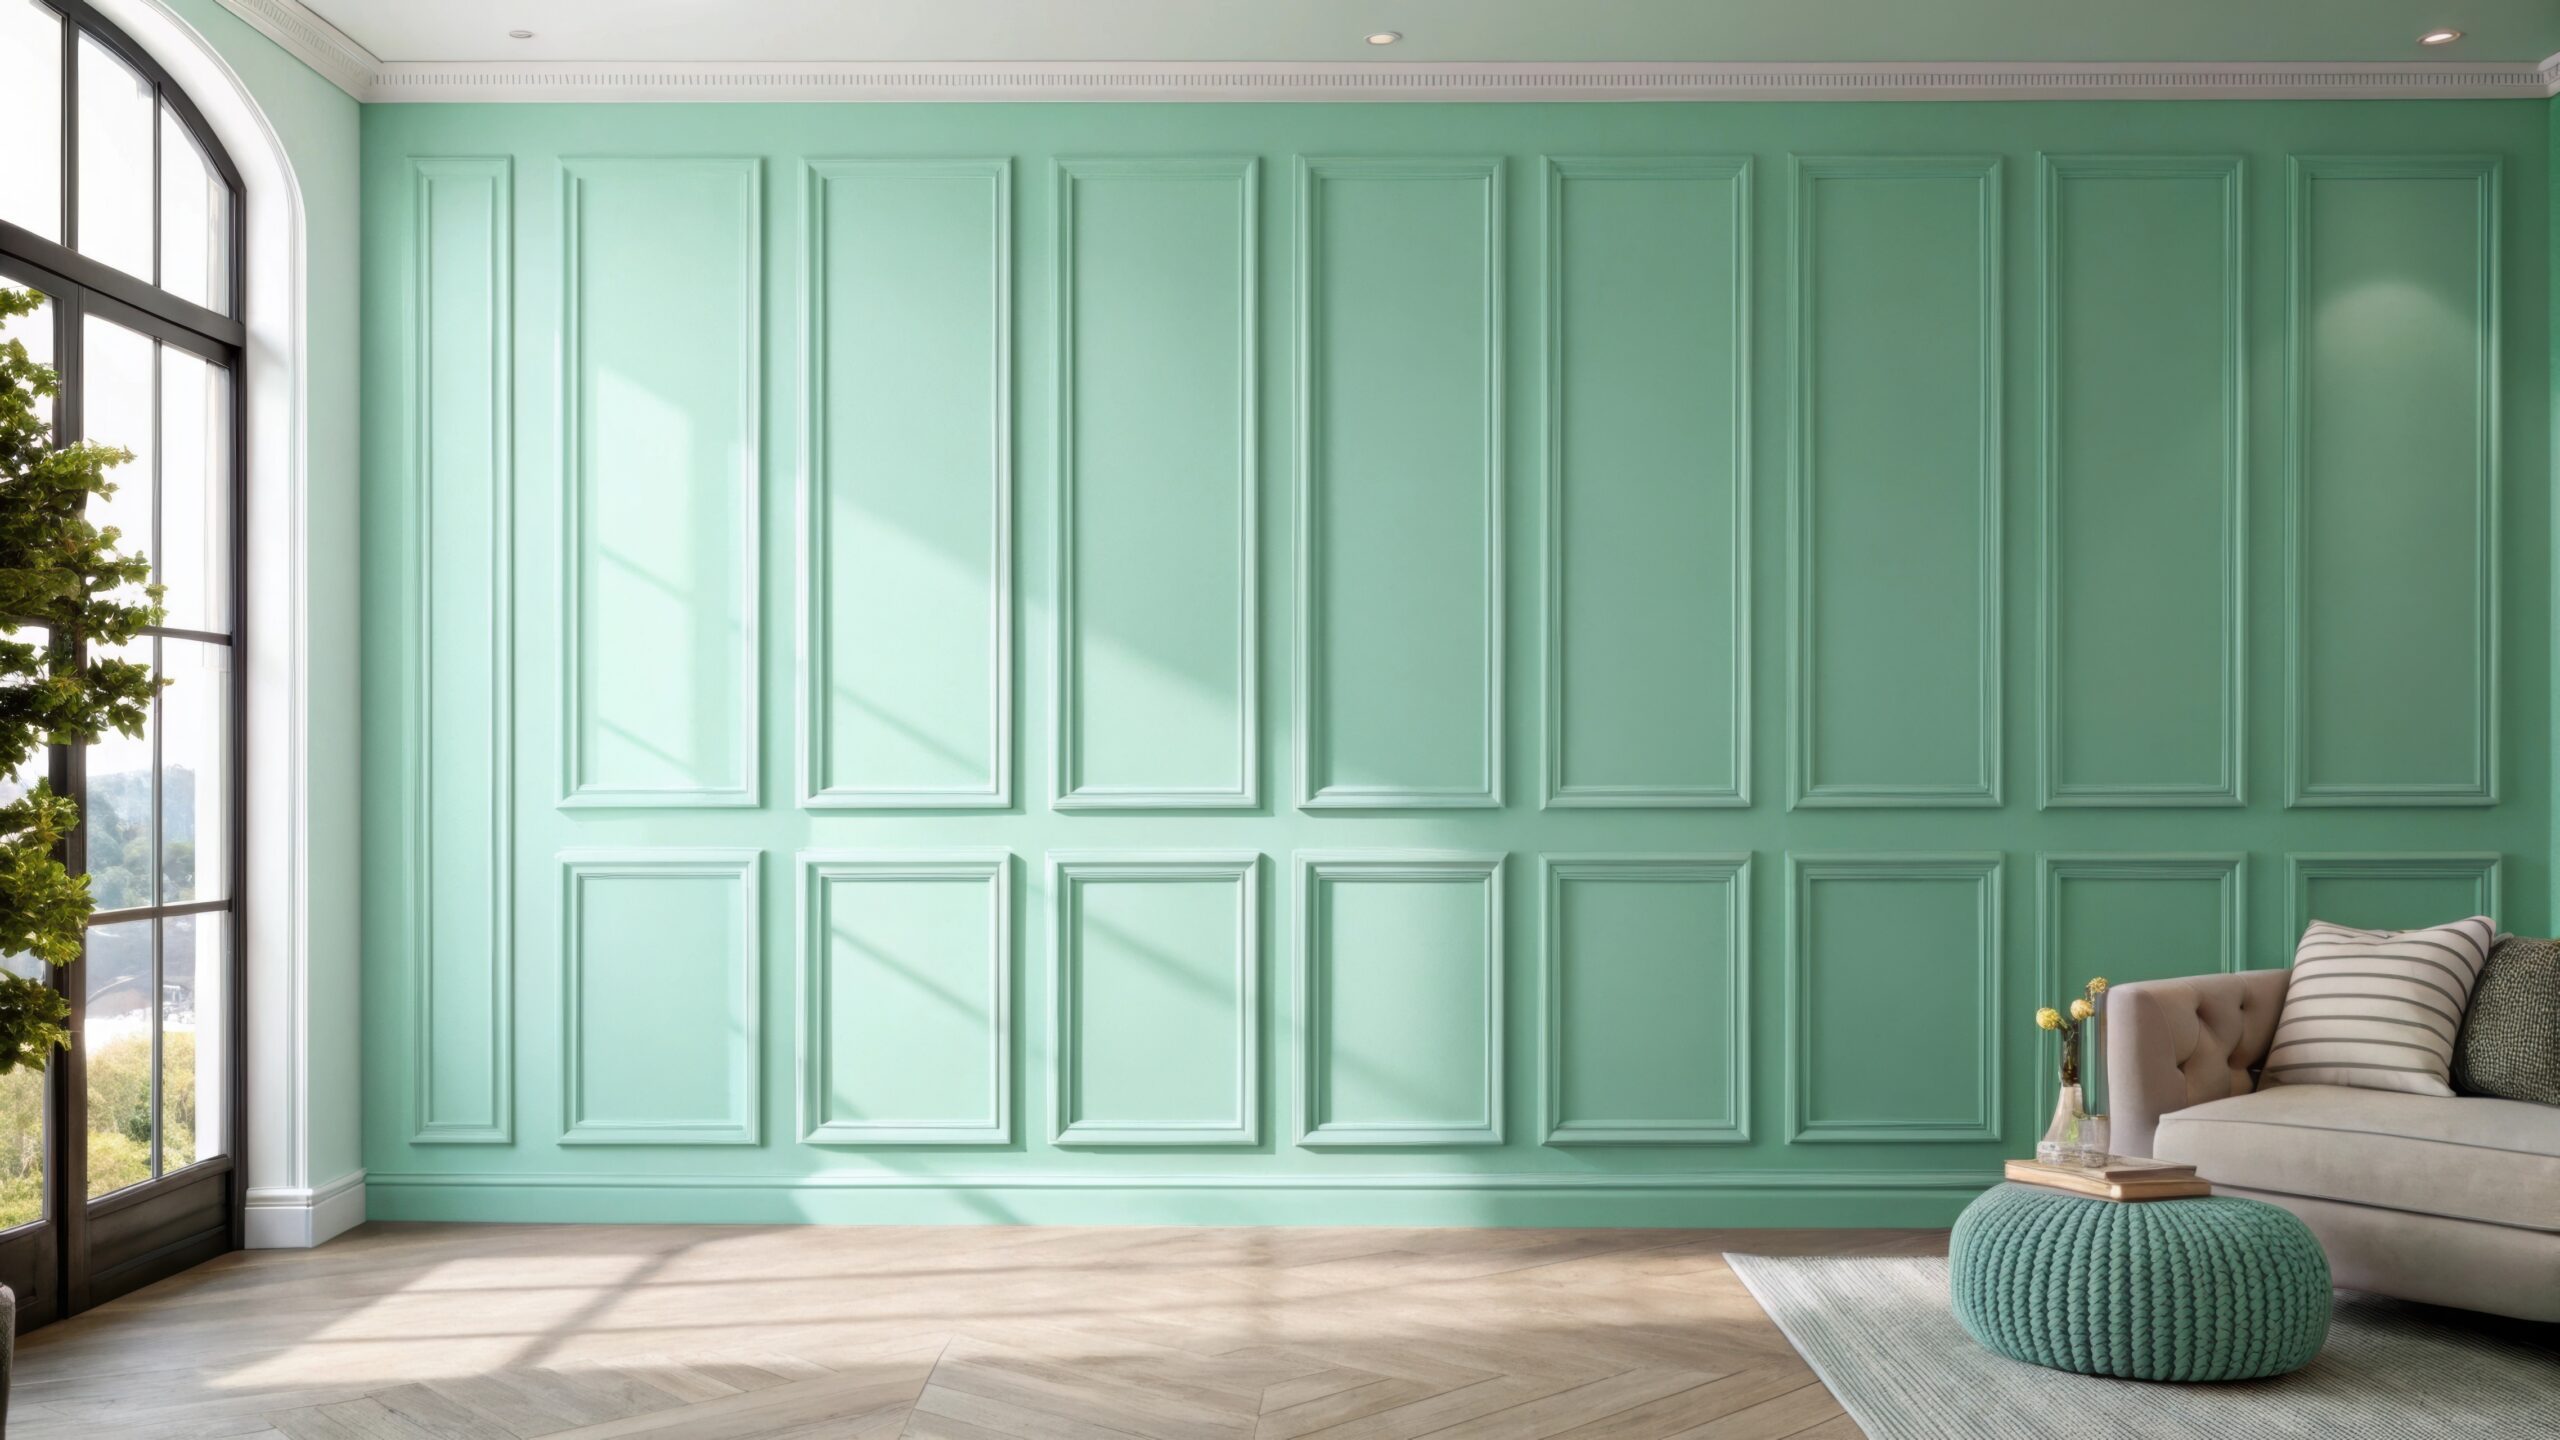
4. Clean, Sand, and Repair Walls
Paint adheres best to a clean, bare surface. Therefore, you should take the extra time to clean and sand all surfaces that you plan on painting. Also, before you begin interior painting, you may notice that certain features require repairs. If, for instance, one of your walls is punctured or cracked, use your spackle and a putty knife to fill these holes and smooth them over with your sanding tool. While you’re at it, inject caulk between gaps so your room is tightly sealed and ready to paint.
5. Tape Trim and Corners
But before it’s time to prime and paint your room, you may want to tape off trim and corners to avoid painting certain areas and/or to create clean lines. Some professional painters prefer cutting in and painting without the use of tape, but this is a matter of skill and preference. If you’re taping off and covering large areas, a hand masker can be useful for quick coverage.
6. Prime Time, and then Paint Time
By this point, your preparations are complete, and you can begin priming your surfaces with a brush and/or roller, whichever you prefer. Painting itself is an art form with its own best practices and methods. If you’re unsure of what you’re doing, you may want to hire painting services for peace of mind and better results. All American Painting Plus will handle every aspect of your home painting project, from crafting an estimate to preparing and repairing your rooms to finally painting them. To learn more about all that we do, give us a call at (703)-620-5563!